
Camera: This is the quickest way to get the ProSnap Deluxe camera
The camera or " ProSnap Deluxe Camera " is a very important item in Fallout 76. You need the camera for many challenges on the game board and if you feel like it, you can take useful photos with the camera in the game without the challenges. Not to be confused with Photo mode. Photo mode includes various frames, filters, player poses, etc. and is accessible from the map. Photo mode is not the camera . The Camera is an item listed under Weapons and can be equipped above it. With the "Aim" button you activate the viewfinder of the camera and with the "Attack" button you shoot a photo.
Tip: You should first play a few levels and do some looting to collect materials, otherwise you won't be able to set up the terminal and build the camera.
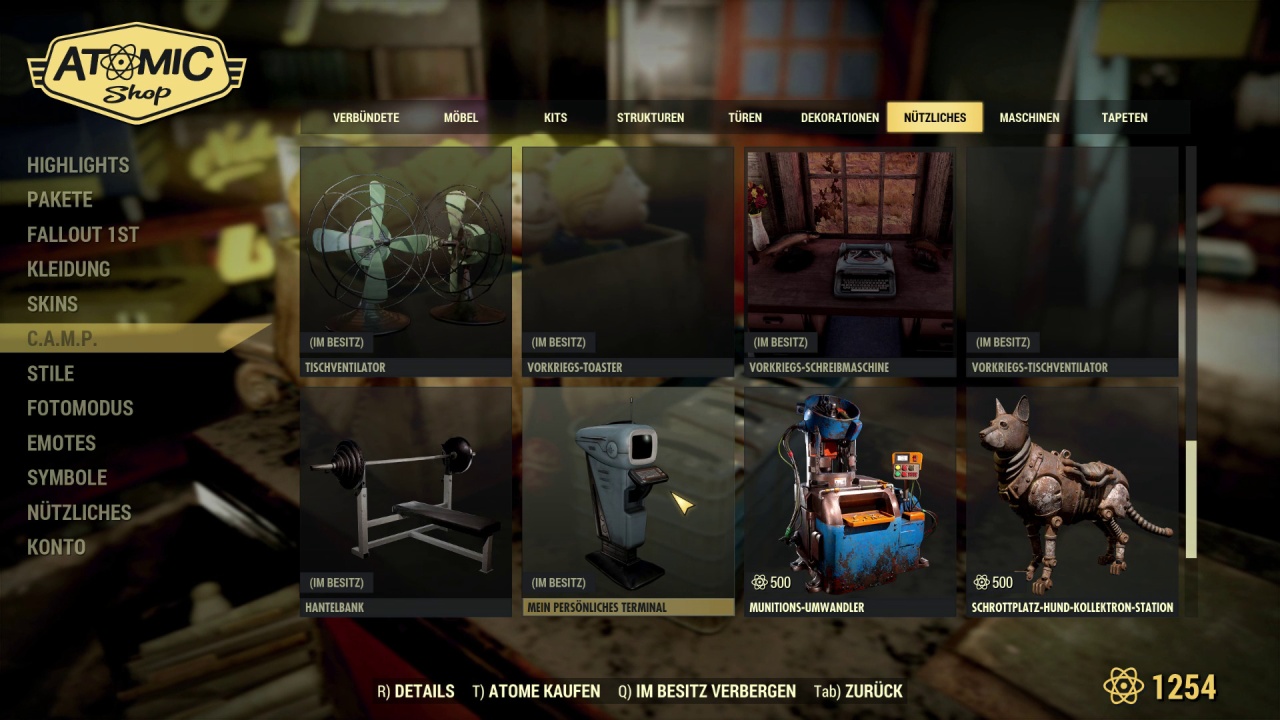
Step 1: Activate Personal Terminal for free in the Atom Shop
Open the Atom Shop and go to the "CAMP" section, from there to "Useful Stuff". There you will find the "Personal Terminal".
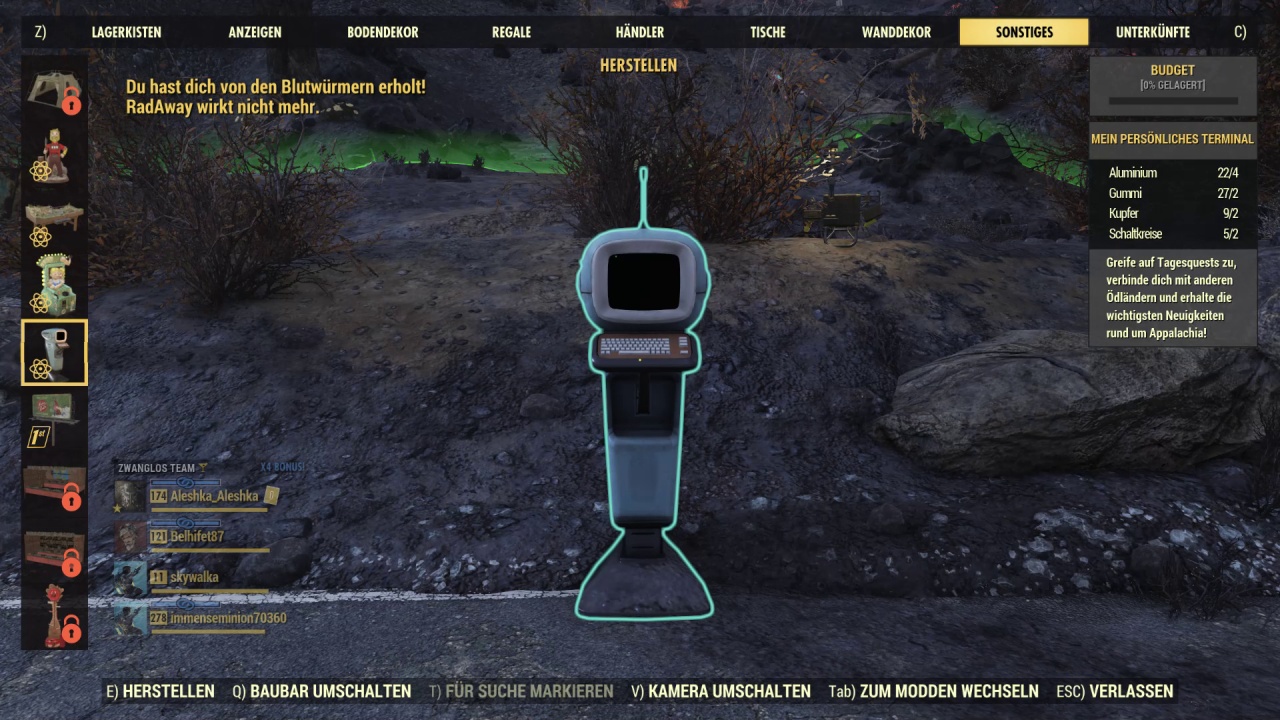
Step 2: Build Personal Terminal in CAMP
Resources needed:
- Aluminum: 4
- rubber: 2
- Copper: 2
- Circuits: 2
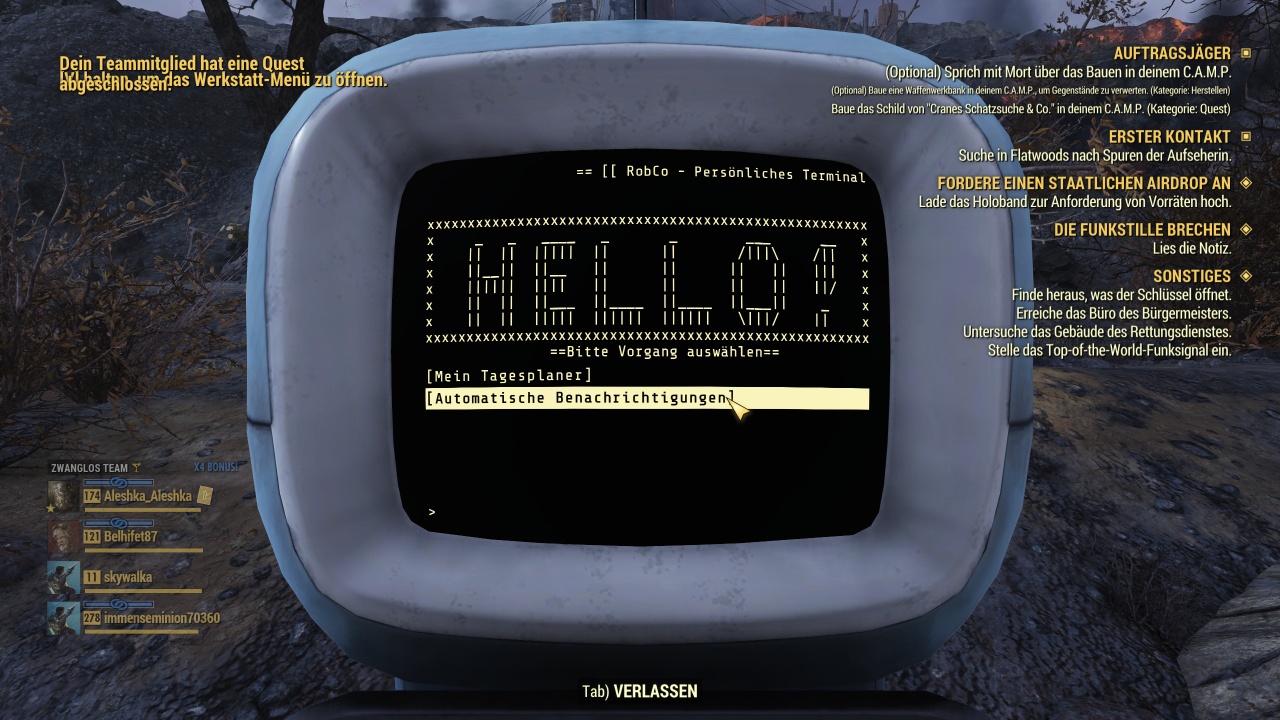
Step 3: Activate side quest
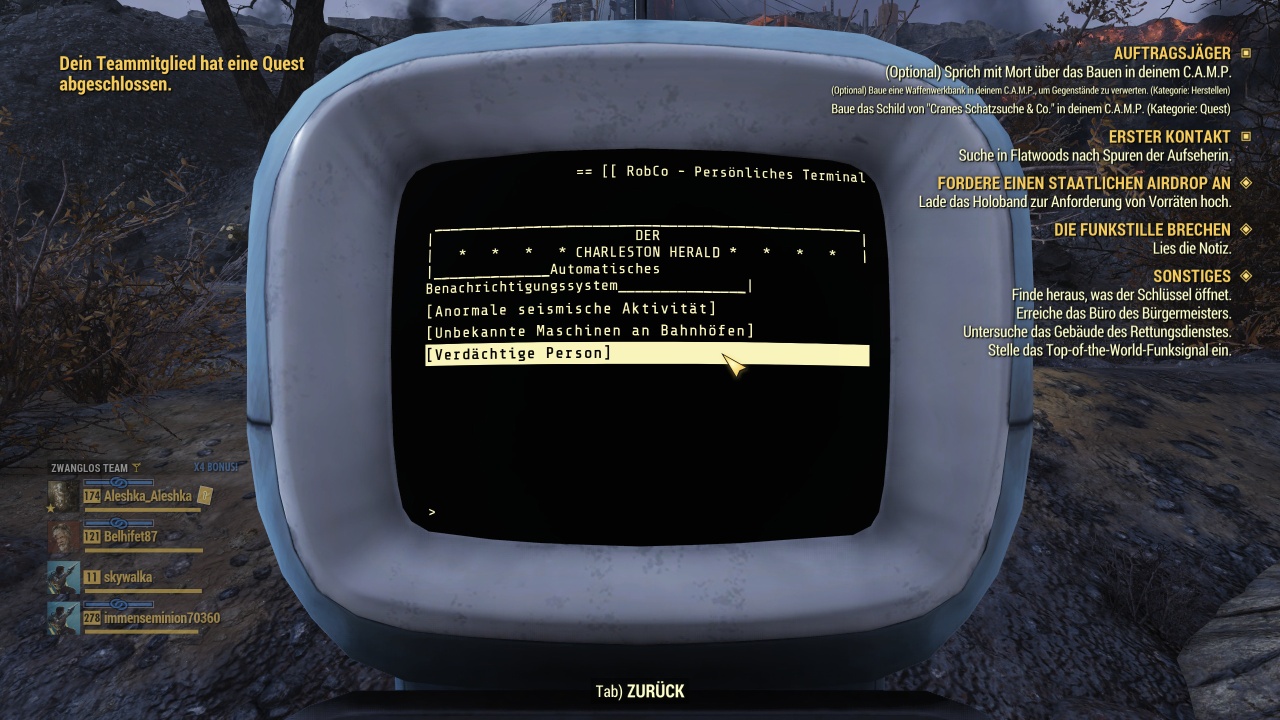
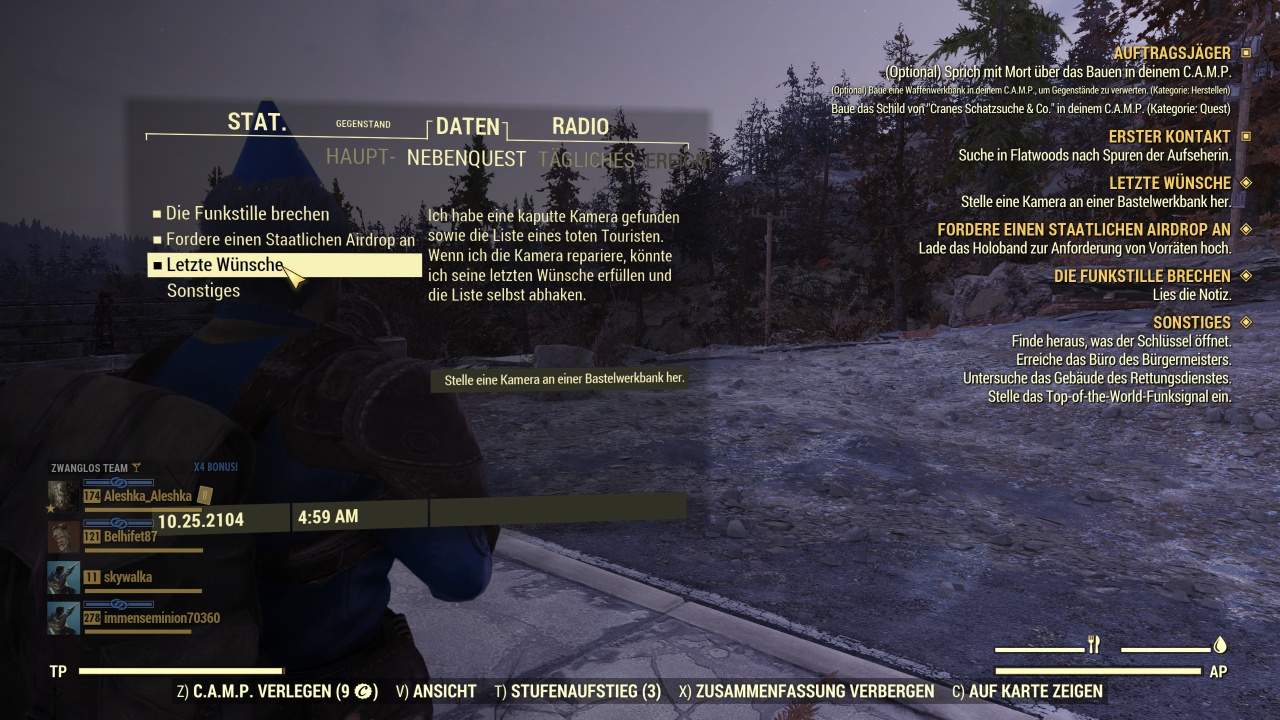
Once you have set up the Personal Terminal, use it and select the item: " Automatic Notifications "
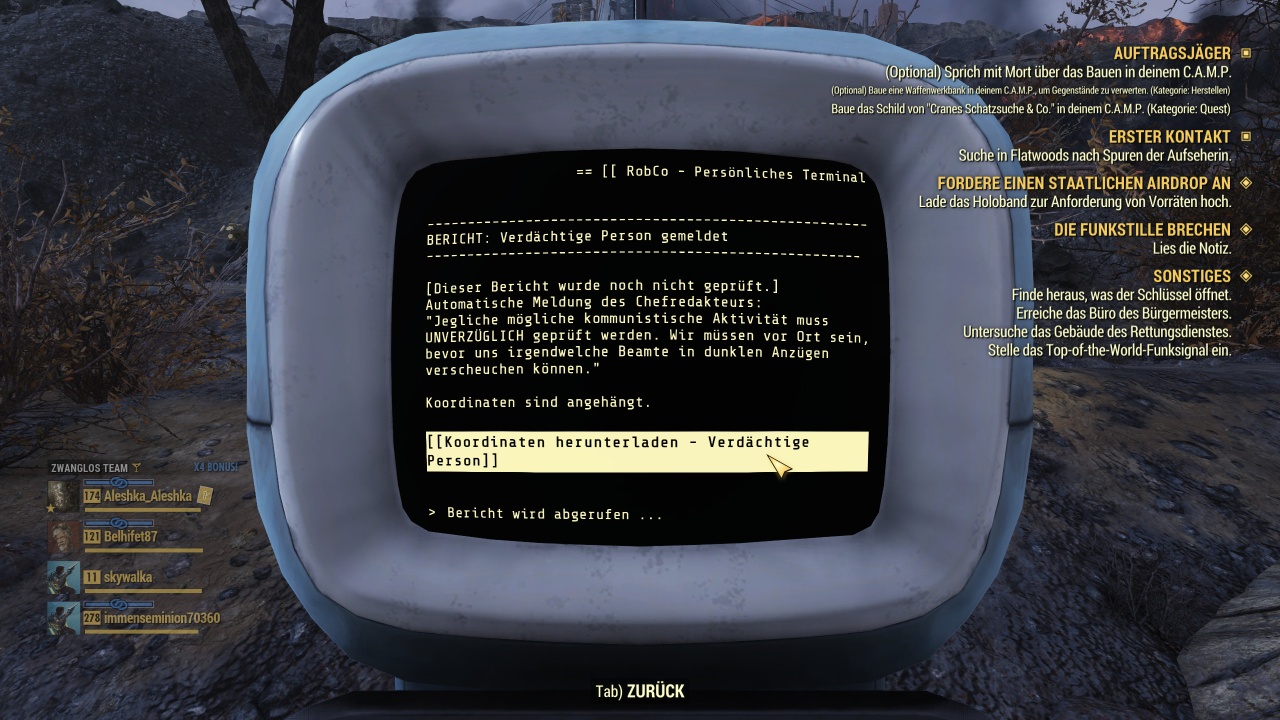
As the next point, you then select " Suspicious Person " and download the coordinates .
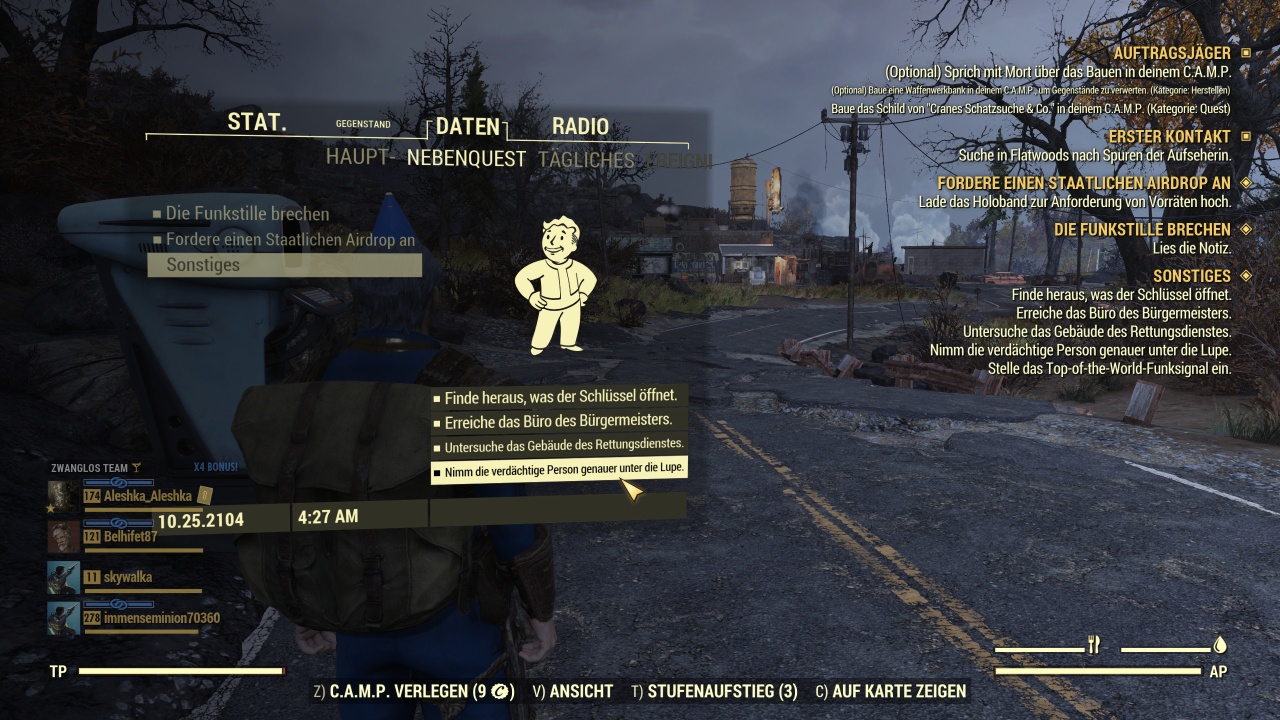
Now you have a new task under side quests -> other : " Take a closer look at the suspicious person ".
At this point you now select "Show on map", on PC this is the "C" key.
Now the position of the tourist is marked on the map. This position is different on each server. This can be, for example, at the Palace of the Devious Path, or at the water park, or at the mining monument, or Whitespring, etc. The decisive factor is that you can find this position via a marker on every server. Now all you have to do is get there.
Tip: If you are still a low level, join public teams with 3 other players. There you can travel to their camps for free and unlock the locations. You can also take part in every public event for free and unlock the locations there.
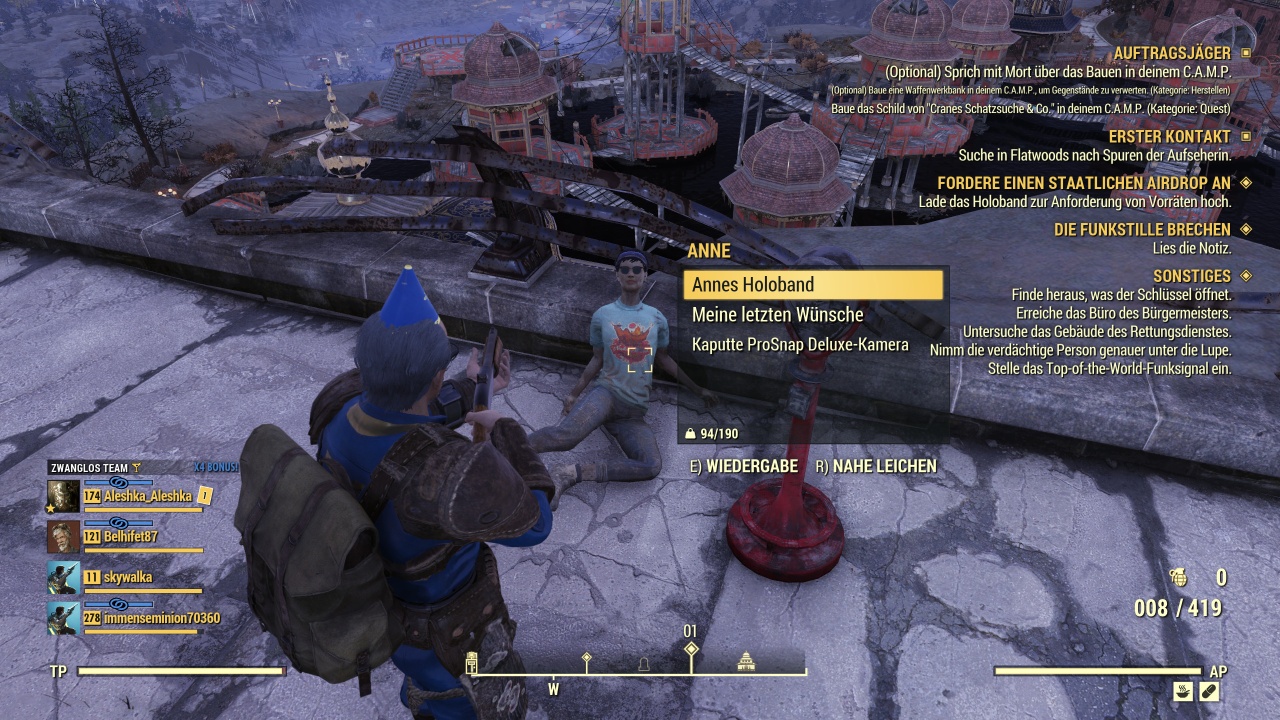
Step 4: Visit the Tourist
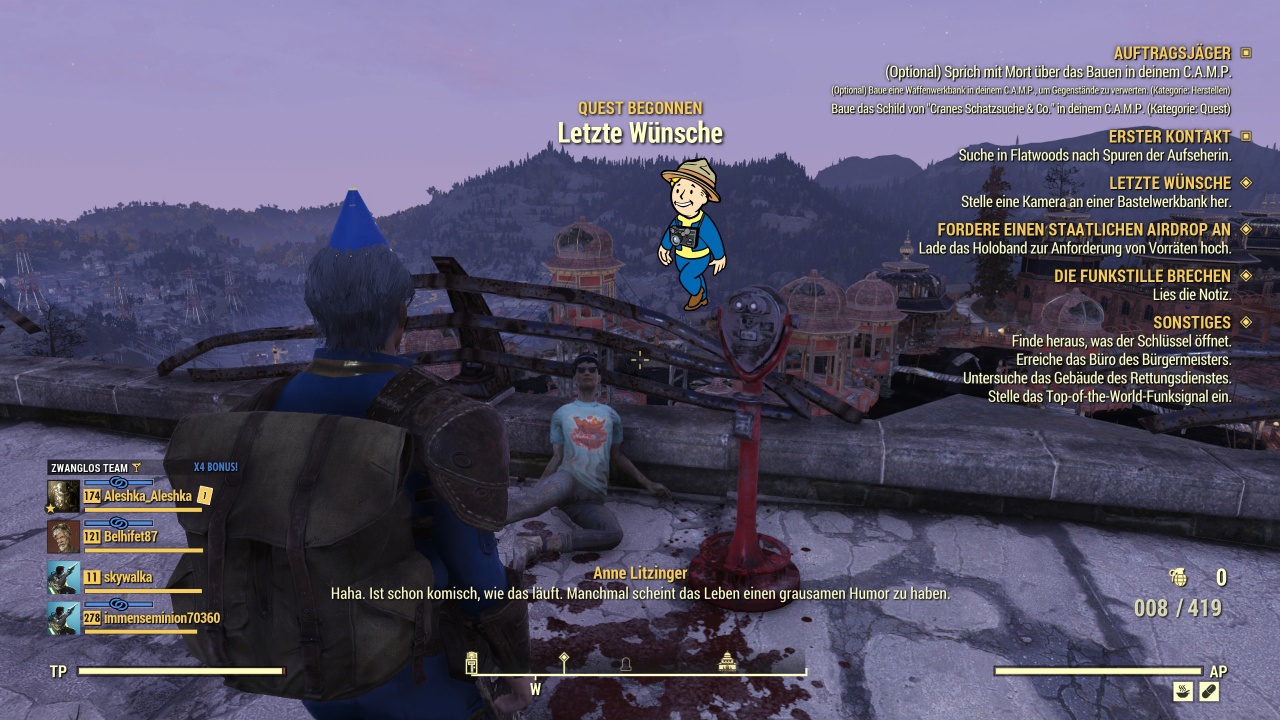
Now you take the holotape, the note and the broken ProSnap Deluxe camera from the tourist. This will activate the Last Wishes side quest, where your first task is to craft the camera.
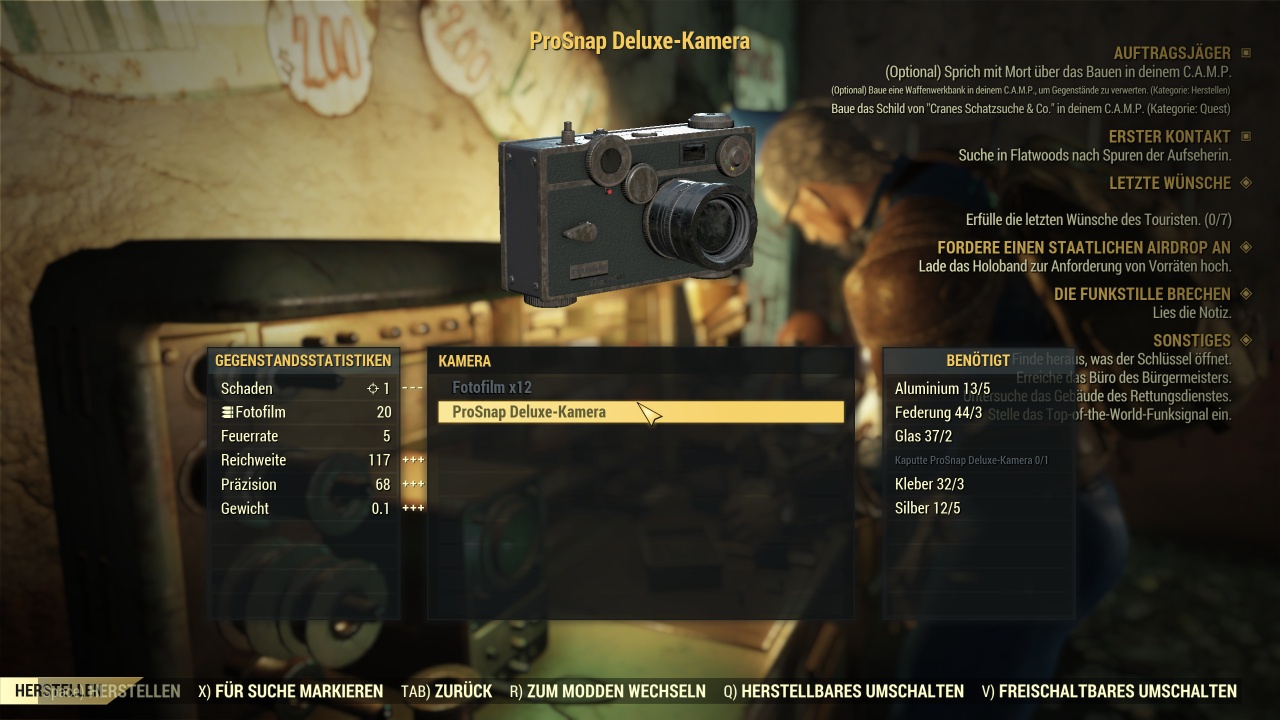
Step 5: Craft the camera at a crafting workbench
If you already have the blueprint for the crafting workbench , make the camera in your camp, otherwise there are crafting workbenches that you can use in Rusty Pick, in other players' camps, at several train stations, in Nuka World on Tour or in Whitespring to create the camera.
Required resources for the camera :
- Aluminum: 5
- Suspension: 3
- glass: 2
- Broken ProSnap Deluxe camera: 1
- Glue: 3
- Silver: 5th
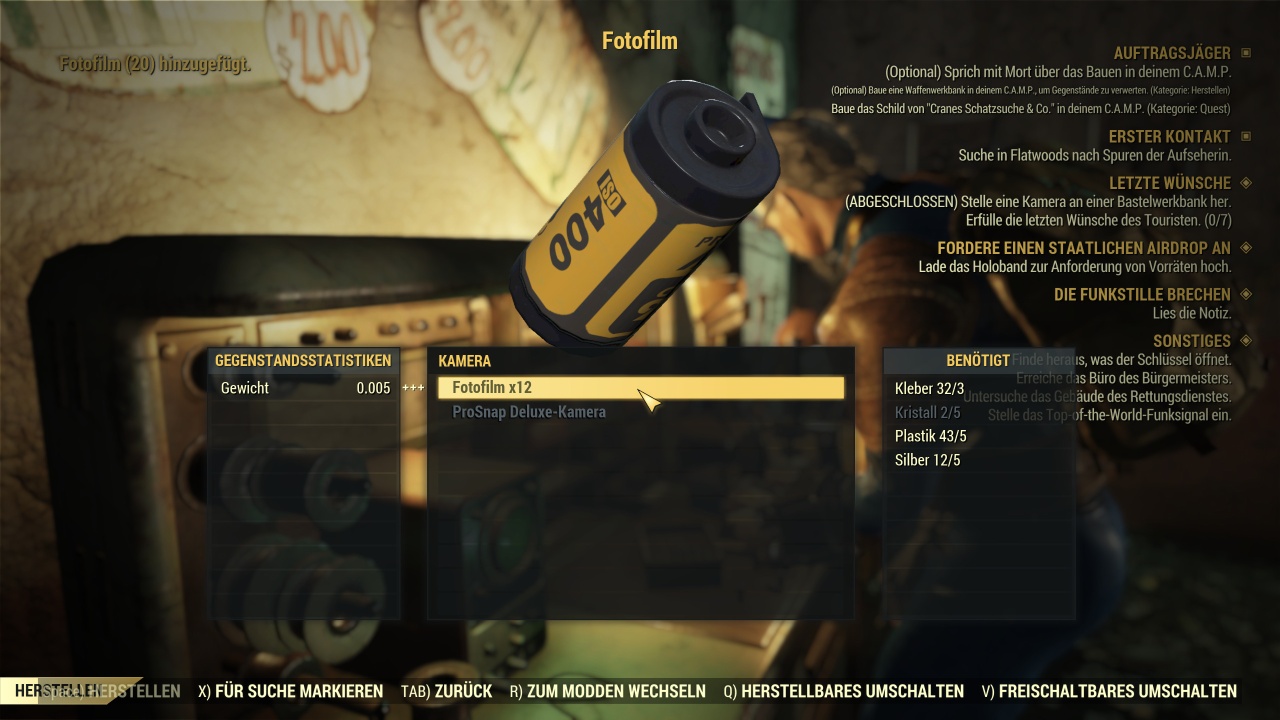
Need resources for photo film x12:
- Glue: 3
- crystal: 5
- Plastic: 5
- Silver: 5th
If you feel like it, you can now also complete the "Last Wishes" side quest.
You have now secured the camera.
Once crafted, you can now find broken cameras as loot in containers everywhere. The camera can only be discarded, renamed, or destroyed if you wish after completing the Last Wishes quest.
Available camera mods:
- 105mm Lens: Obtained from the Overseer (Davenport) by completing Last Wishes and also with a chance of completing the Photo Opportunity daily quest.
- 200mm lens: Possible reward of the daily task "Photo Opportunity" at the warden (Davenport)
- Night Vision Lens: Available from the Boy Scouts vending machine for Possum Tokens
Camera Walkthrough Video (Youtube):


Comments: